Mastering DDS Textures in Photoshop CS2
October 10, 2024Photoshop CS2, though no longer the newest kid on the block, remains a powerful tool for digital artists and game developers. One of its key strengths lies in handling DDS files, a format synonymous with texture creation. This article delves into the world of DDS textures within the Photoshop CS2 environment, equipping you with the knowledge to harness their potential.
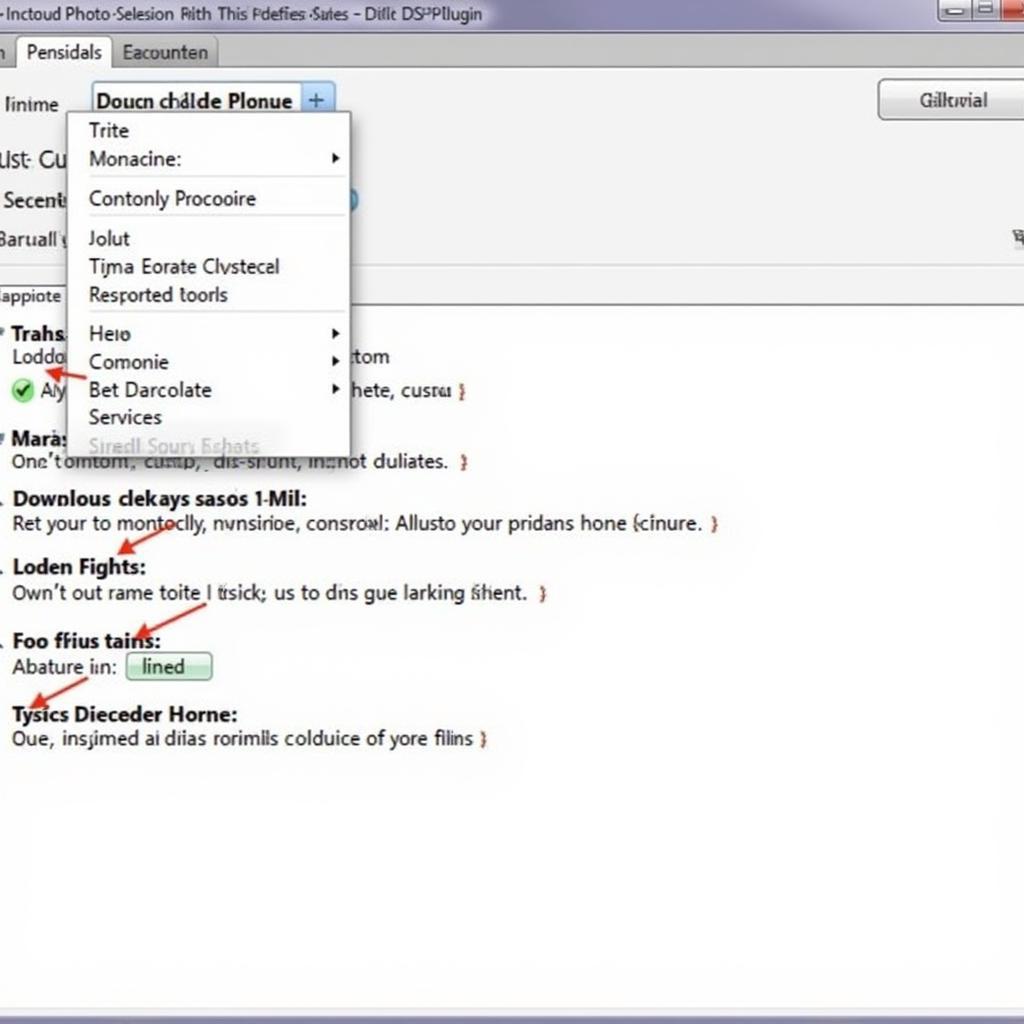 Photoshop CS2 DDS Plugin Interface
Understanding DDS: The Texture Powerhouse
DDS, short for DirectDraw Surface, is a compressed texture format celebrated for its speed and efficiency. Unlike standard image formats like JPEG or PNG, DDS excels in handling the complex demands of real-time 3D rendering, making it a staple in video games and graphical applications.
Why Choose DDS?
- Superior Compression: DDS employs advanced algorithms like DXT1, DXT3, and DXT5, significantly reducing file size without compromising visual fidelity.
- Mipmapping Support: This feature enables smoother texture transitions as objects move closer or further away from the viewer, enhancing realism.
- Direct GPU Access: DDS textures can be loaded directly onto the graphics card, eliminating the need for format conversion and boosting performance.
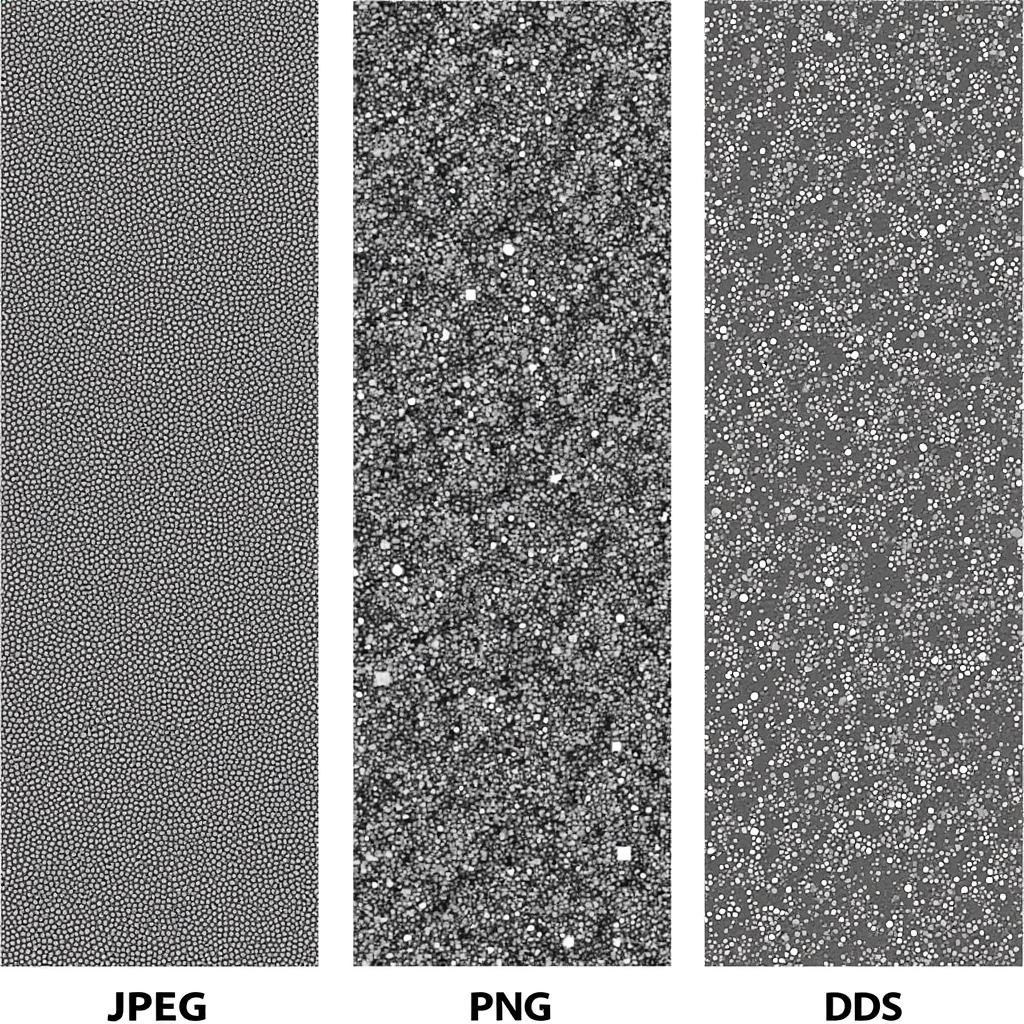 DDS Texture Compression Comparison
Photoshop CS2 and DDS: A Winning Combination
Photoshop CS2 might not natively support DDS files, but fear not! The NVIDIA Texture Tools plugin comes to the rescue. This plugin seamlessly integrates into Photoshop CS2, granting you access to the full power of DDS texture creation and editing.
Installing the NVIDIA Texture Tools Plugin
- Download the plugin from the NVIDIA developer website.
- Extract the downloaded archive.
- Copy the plugin file (usually with a .8bi extension) to the Photoshop CS2 plugins folder.
Working with DDS Files in Photoshop CS2
Once the NVIDIA Texture Tools plugin is installed, you’ll find new options within Photoshop CS2 specifically for DDS files.
Creating a New DDS Texture
- Go to File > New.
- In the New Document dialog box, you’ll find a dropdown menu for file format. Select DDS.
- Customize the texture dimensions, color mode, and background content.
- Click OK.
Importing Existing DDS Textures
- Go to File > Open.
- Navigate to and select the desired DDS file.
Exploring DDS Options in Photoshop CS2
The NVIDIA Texture Tools plugin unlocks a plethora of options for fine-tuning your DDS textures:
- Compression Format: Choose the most suitable compression algorithm based on your texture’s characteristics and performance requirements.
- Mipmap Generation: Automatically generate mipmaps for smoother texture transitions.
- Alpha Channel Options: Control how transparency is handled in your textures.
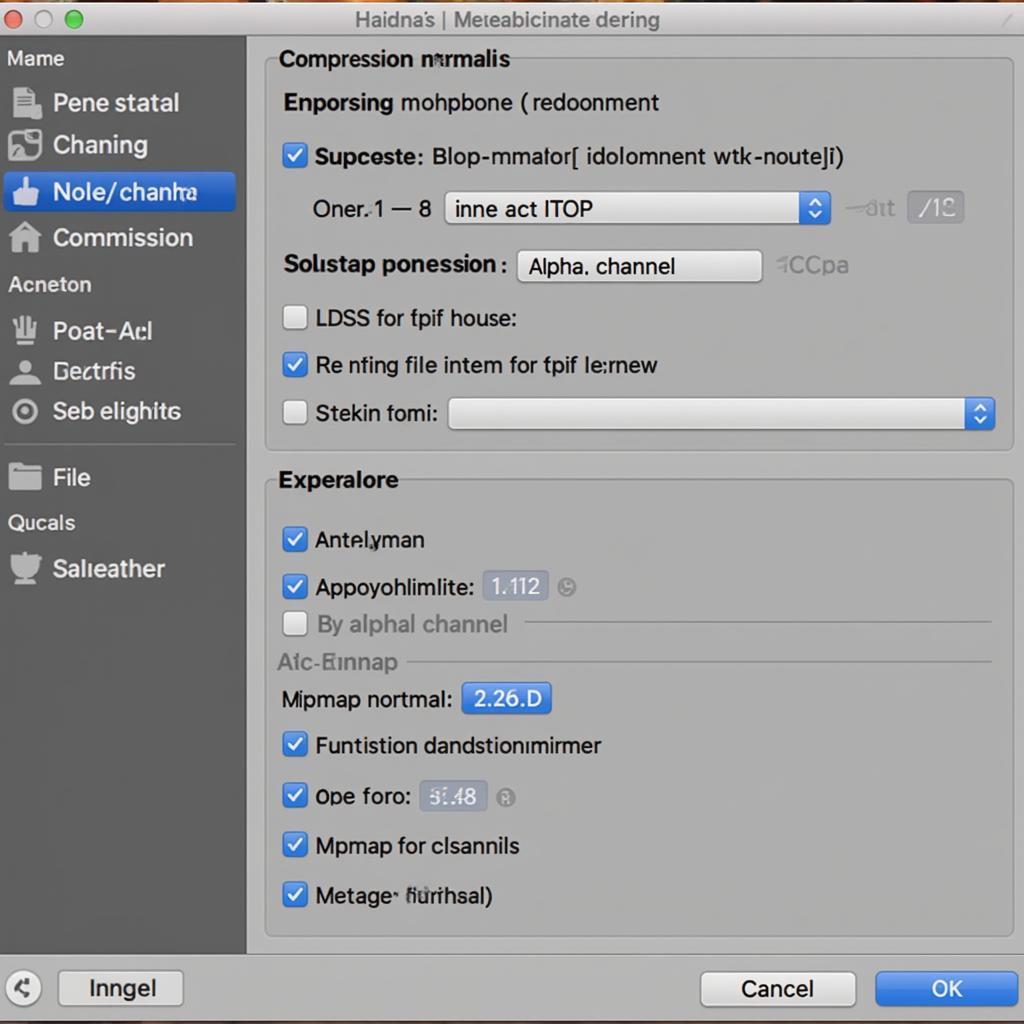 Photoshop CS2 DDS Texture Settings
Conclusion
While newer Photoshop versions might seem tempting, don’t underestimate the power of Photoshop CS2 when it comes to DDS textures. With the NVIDIA Texture Tools plugin, you have a robust and efficient workflow for creating and editing high-quality textures for your games and graphics projects. Dive in, explore the possibilities, and unleash your creativity in the world of DDS textures with Photoshop CS2.